If you follow
Project Run & Play like I do, then during the latest round of competition, you saw
See Kate Sew's chic zig zag top. I remember thinking the day I read that post that the top was adorable and just my little Ella's style.
Well, call me lucky, because a few days later, Kate asked me to make up my own version of the Zig Zag top using her new
Zig Zag Pattern and to participate in her pattern blog tour!
I immediately began to think of all the fabrics I have and what would make the perfect Zig Zag Top. And then it hit me. I've had several pieces of Valori Wells Nest collection for ages, and I knew the
Zig Zag Pattern would be the perfect design to showcase some of it. However, when I found the fabric, I realized that I didn't have enough of all one color to make the entire top.
Well, I started playing around with some ideas so I could use this fabric because I just couldn't image using anything else, and I did not want to go buy more fabric (I'm trying to cut back). Instead, I decided to make it all pink on the front...
and all green on the back!
I know it's a little crazy, but I love it, and most importantly, Ella loves it! She's worn it several times already, so I know I'll eventually make another version.
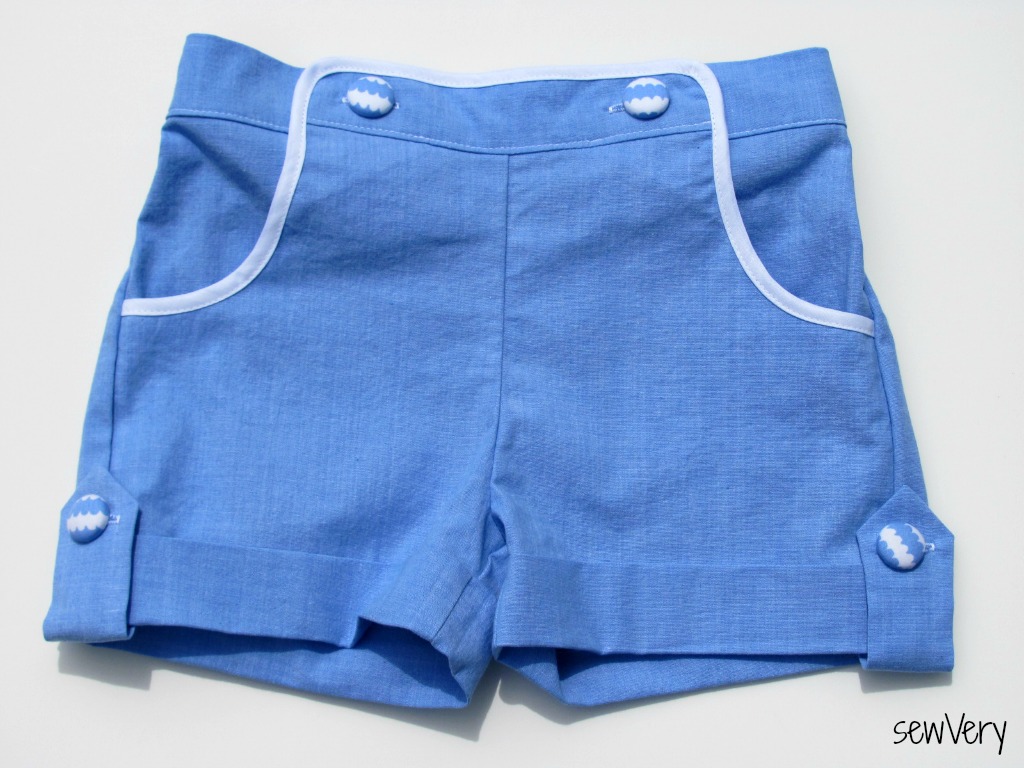
This top is so sweet with all it's charming little details--pleats in the front and back, elastic on the sleeve cuff, piping, and big buttons! And I thought about adding in seam pockets, but opted not to since I had limited fabric.
I handmade the piping using the green fabric on the front and the pink fabric for the back. I ran out of cording, and since I didn't have much time, I ran into Wal-mart to pick up more. I wasn't surprised that the fabric section did
not having any cording, so I headed over to the hardware section to look for narrow rope or twine. I found a perfect 40' spool of nylon 1/8" twine/rope for under $3! It worked perfectly and cost a lot less than had I bought it at the fabric store.
Besides participating in Kate's
Envelope Clutch Sew-a-Long, this was the first clothing pattern of hers that I have tried. I was very impressed with the amount of detail she provides in both the written instructions as well as the photographs. Her blog fonts and photo style definitely carried over to her pattern, so it's light and fresh and so easy to follow. I was really amazed at the simplicity of the pattern design and how quickly the entire top came together. Making the piping took a little extra time, but I love the pop of different color on each side that it adds. It was time well spent.
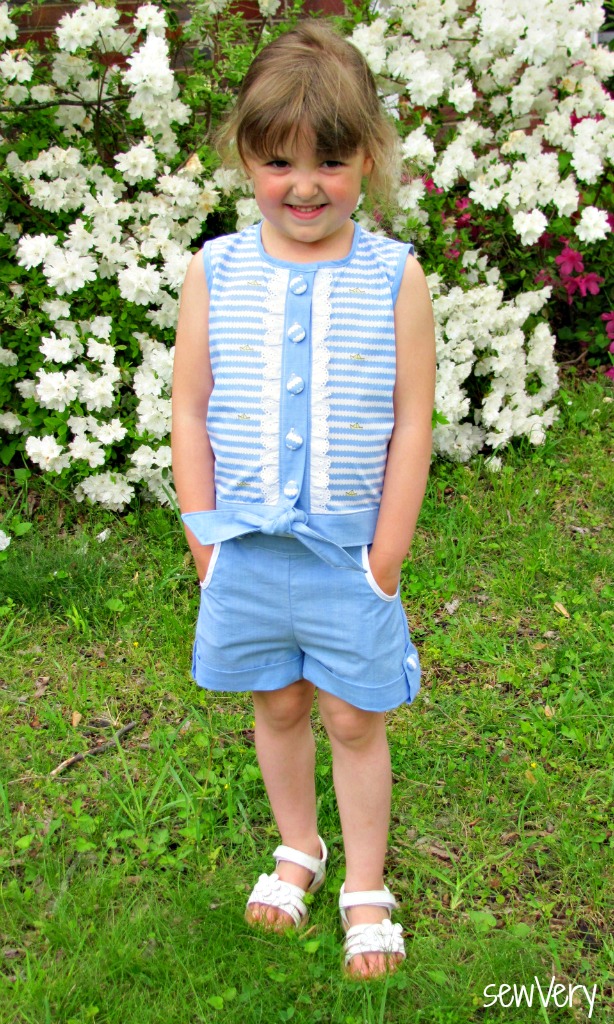
Ella normally wears a 5T, and based on the pattern sizing chart, that's what I made for the Zig Zag Top. Its a great fit, and if I made it a few inches longer, she could definitely wear it as a dress.
The beautiful light gray buttons are handmade from ceramic. I won these in a contest last month, along with a few others in various colors and sizes. These were just the perfect combination for this outfit. And you know what? I'm not scared of making buttonholes anymore! I made these with no problems and have just learned to go slow and make sure I've run my bobbin thread through that little hole on the bobbin case. It makes a world of difference!
To complete the look, I whipped up a pair of
Go To Leggings. I blogged about this pair a couple of weeks ago
here.
I took a lot of pictures, so I am going to share some of the out-takes from that afternoon. Apparently, the Zig Zag Top is great for running and playing football in, too!
Plus, Ella always stops to pick a beautiful flower when she sees one. She has the sweetest heart.
This Zig Zag Top makes me happy when I look at it. I'm not sure if it's because of the pretty colors, or the pretty little girl wearing it, or because of the fun time I had watching my children get along at the park! I am so in love with these two children!
And just so you'll know, no bribing was involved to get this picture. I just asked them to stand next to one another. I just wish they would act like this all the time!
So I highly recommend See Kate Sew's
Zig Zag Pattern. It's great to sew, has a unique style to it, and has the possibility to make you and your little ones so very happy! Thanks again for having me on the pattern tour!