home tutorials features parties custom orders
Showing posts with label fabric. Show all posts

Friday, August 26, 2016

Wonderland Blog Hop: Chair Pocket Tutorial

School is back in session which means tons of papers being sent home and lots of homework. In years' past, the completed worksheets, art work, and notes from school would pile up on the kitchen counter or dining room table, but this year, all those papers will be stored in this new chair pocket I made for my daughter's chair.

What's even better is that I created a matching double zipper pencil pouch that detaches from the chair pocket when she needs to sit at the table to work on a project. All of her pencils, crayons, scissors, and other supplies will be conveniently at hand and can be stored away when she is done with them.


Help organize your home when you make my Chair Pocket Tutorial with a detachable pencil pouch. It's easy to sew and your child will love it when you use fun fabrics like the Wonderland Collection by Josephine Kimberling for Blend Fabrics.

Disclosure: I was provided the fabrics used in this post in exchange for sharing a project I sewed with them. All opinions are my own.

Thursday, July 2, 2015

DIY Fabric Clipboard

The other day at Target, I picked up a plain brown clipboard, a small bottle of Mod Podge from the $1 aisle, and a packet of sponge brushes and decided to cover the clipboard in fabric. This project was so quick and simple, that it took less than 30 minutes from start to finish! Here's how you can make your own DIY Fabric Clipboard, too!


Sunday, March 9, 2014

sewVery 1,500+ Facebook Fans Giveaway!

Thanks to all of you--my wonderful fans, friends, and supporters--my sewVery Facebook page has recently exceeded 1,500 Likes!  Whoo!  Hoo!  That's definitely cause for celebration.

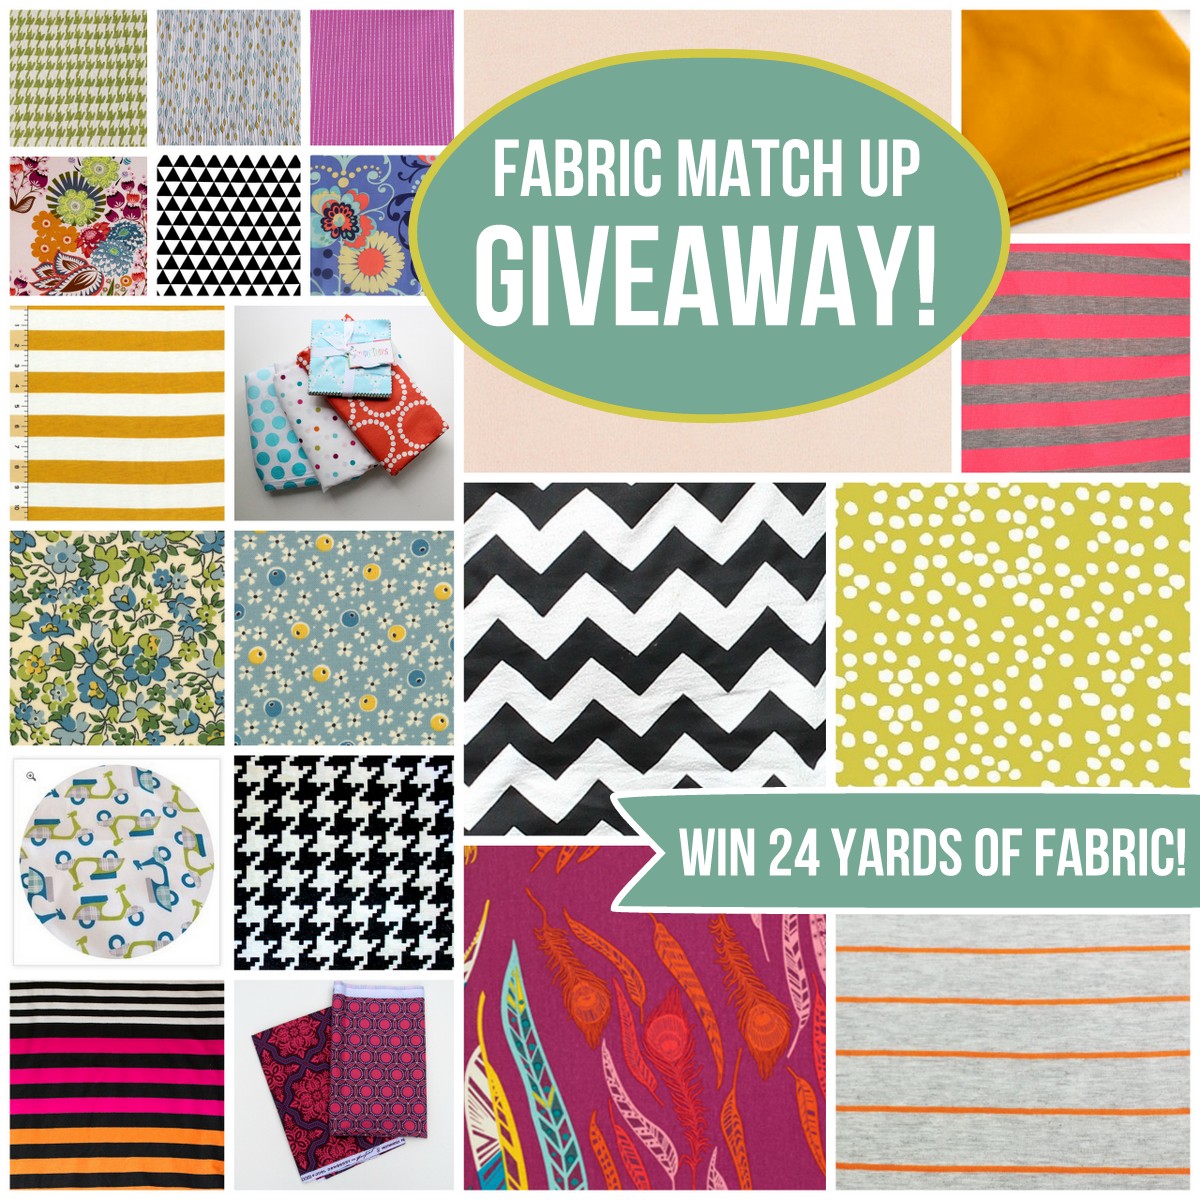
And as a big Thank You, I've decided to have a giveaway!


I've been putting together a variety of fabric, books, magazines, notions, trims, and other goodies, plus several of my friends have contributed pdf patterns!  I'm giving everyone (both US and international fans) the chance to earn 8 entries using the Rafflecopter widgets below.  The contest will run through Saturday, March 15th, and the winners will be selected and announced here the following day.  Keep reading below to see the exact prizes and how the giveaway will work!

So what am I giving away?  Two prizes actually.  One prize for US sewVery fans and another prize for International sewVery fans!  Everyone will have a chance to win!

Here's how the giveaway will work:

If you live in the United States, you may enter the giveaway for Prize Pack #1 full of fabrics, magazines, notions, and whatever else I decide to throw in the box!  Your gift will be mailed out to you as soon as the winner emails me back with her/his address!


a Rafflecopter giveaway

If you live outside of the United States, then you may enter the International giveaway for a chance to win Prize Pack #2 which includes pdf sewing patterns from my friends at

Blank Slate Patterns (affiliate link)
and

Once the international winner has emailed me back to confirm their email address, I'll forward the digital pdf patterns on to you!


a Rafflecopter giveaway
I hope that this style of giveaway will make all of my fans sewVery happy!  I value the support and friendships I have made from my many faithful followers all over the globe, and I want to make sure that all of you have the opportunity to win something in my sewVery 1,500+ Facebook Likes Thank You Giveaway.

Plus, I greatly appreciate the support and generosity of my talented pattern designer friends who have provided prizes for this giveaway!  Thanks, too, to Free Spirit Fabrics and Anna Griffin for supplying the fabrics.

This has been a great journey for me so far, and in the next few months, I think it is going to get even better!

Be sure to keep following sewVery for more pattern reviews, sewVery Simple Tutorials, and some exciting new adventures I'll be taking!

Sign up to follow by email (in the sidebar), Bloglovin', Facebook, Instagram, or Twitter!

Thanks again to all of you, and most importantly,

Have fun sewing!

Veronica

Tuesday, May 7, 2013

Purse Giveaway!

Contest is now over!  Thank you for being a follower and for entering my contest!  Congratulations to Kristy of Hopeful Threads for being the winner!

In celebration of hitting a milestone of over 200 blog followers and almost 400 Facebook Likes, I've decided to give away a purse I made last year that I've never used.  It's beautiful and deserves to be used by one of my followers!

Read my original post about it here, and enter the contest below.  Contest is open to US Residents only.


I'm also participating in a huge fabric and pattern giveaway along with 17 other bloggers.  Pay careful attention to the bag above, and you should be able to figure out which fabric I've donated to the Fabric Match Up Giveaway.  It's from my favorite fabric designer, Joel Dewberry!

Thanks so much for stopping by!  I hope you'll decide to become a follower of my blog and my Facebook page so you can keep up to date on all the latest sewing projects I've finished and contests I am hosting. I can't wait to discover a few new blogs myself!


a Rafflecopter giveaway

Monday, May 6, 2013

Fabric Match Up Giveaway & Pattern Contest

Today is the start of Sew Mama Sew Giveaway Day, and I'm participating in an exciting fabric giveaway hosted by 18 of your favorite bloggers!  There's a total of 24 yards of fabric that will all go to one lucky winner!  

Here's the catch.  You have to match the fabric to the blogger giving it away!  We are calling it the Fabric Match Up Giveaway!  Keep reading below on how to enter...

fabric match up giveaway- win 24 yards of fabric from your favorite bloggers!

Have you ever wished that your favorite sewing bloggers would go fabric shopping for you? Or seen a project on a blog and thought, "I could really use a yard or two of that fabulous fabric." If so, today is your lucky day!

Eighteen sewing bloggers picked out a yard (or two!) of a fabric from their stash and we're giving them ALL away to one lucky winner!

To win this awesome stash of fabric goodness, just match the fabric swatch to the blogger (hint- most of us have used the fabric we chose in a recent project, so our recent posts are your fast track to fabric matching success). The first person to correctly match all of the swatches will receive ALL of the fabric shown!

  fabric matching giveaway- win 24 yards of fabric from your favorite sewing bloggers!
A- 1.5 yards, Mini Dot in Sunspray by Lotta Jansdotter, B- 1 yard, Paradise Garden in Periwinkle by Amy Butler, C- Florescent Pink & Gray Striped Jersey Knit, D- 1/2 yard Heirloom Tile Flourish in Garnet and 1/2 yard Heirloom Opal in Fuchsia both by Joel Dewberry, E- 1 yard, Houndstooth in black by Michael Miller, F- Pink/Orange Stripe knit, G- 1 yard, Orange and Light Heather Gray Stripe Cotton Jersey Knit, H- 1 yard, Light pink linen, I- 1 yard, Mustard and Ivory Stripe by Girl Charlee, J- 1 yard, Rally Cream/Grass by Dan Stiles, K- 1 yard Riley Blake Ombre Dots in Aqua, 1 yard Target Polka Dot Sheet Fabric, 1 yard Lizzy House Pearl Bracelet in Persimmon and Michael Miller Happy Tones Charm Pack, L- 1 yard, Remix Triangles B/W by Ann Kelle, M- 1 Yard, Novella Rain Rayon in Aqua by Valori Wells, 1 yard, Lush Running Stitch in Purple by Patty Young, and 1 yard, Porcelain Tile Garden Wall in Olive, M- 1 yard, Mustard cotton sateen, O- 1 yard, Summer Totem in Grapefruit by Anna Maria Horner, P- 1 yard, Black and white chevron, Q- 1 yard, Parenthetical in Berry by Anna Maria Horner, R- 2 yards (1 yard each), ABC 123 by American Jane for Moda


Here is the list of bloggers (just in case you have a little research to do)

Boy, Oh Boy, Oh Boy crafts       The Cottage Mama                crafterhours
Craftiness is not Optional            delia creates                          girl. inspired.
icandy handmade                       If only they would nap...        imagine gnats
kojodesigns                               Melly Sews                            Nap Time Crafters
See Kate Sew                            Sew Country Chick                The Sewing Rabbit
sewVery                                    Sumo's Sweet Stuff               The Train to Crazy

pattern bundle giveaway

And just to sweeten the pot a little, every reader who submits a guess will be entered in a fabulous pattern bundle giveaway. 

The prize:
The Sugarplum Top + Dress pattern by See Kate Sew
The Surfer Slacks Lounge Pant pattern by See Kate Sew
The Casual Lady Top and Dress  pattern by Go To Patterns,
Two "Winner's Choice" patterns by Blank Slate Patterns,
Pattern 5 Pack ("Winner's Choice") by Peek-a-boo Pattern Shop,
Riding Pants pattern by the Sewing Rabbit, 
Roly Poly pattern by imagine gnats, and the
Ruby Ruffle dress pattern by The Cottage Mama

WOW!

Good luck!  Oh, and I would love it if you would become a follower of my blog and Facebook page, too!  

Check back here tomorrow for another giveaway I'll be hosting!  Here's a hint:  I'll be giving away a purse I made using some of the same fabric I'm giving away in the Fabric Match Up Giveaway!  

*Fabric Match Up Giveaway and Pattern Bundle Giveaway end at midnight MST on Friday, May 10, US residents only.

Sunday, January 20, 2013

Fun! Fabric Bracelets


Late last year, I came across this cool idea over at LBG Studio to make bracelets using scrap fabric.  I immediately pinned this idea, ran to the store for supplies, and whipped up a dozen or so Fun Fabric Bracelets for my kids, family, and friends!


It took me several minutes at both Michael's and Joann's, but eventually I found the bracelet crimps. I like the design on the ones from Joann's better, plus they were a better deal since I used a coupon!

I wasn't really sure how long to make the bracelets for the average adult since I have small wrists (like 5 3/8" around) and usually have a difficult time finding bracelets to fit myself.  I ended up cutting out some 6 3/4" long and some 6 1/2" long knowing that the clasp would add a little length to the overall bracelet.  This seemed to work out well for most of my recipients, but next time I think I'll either make them a 1/4" longer or use a bracelet extender on the clasp so the fit will be flexible.

For my daughter, I cut off about an inch from the longest adult bracelet, making hers have a finished length of 5 3/4" without the clasp.  It seems to fit her just fine.


I opted to use a different fabric on each side so the bracelets could be reversible. My favorites were those with multiple rows of stitching which gave them more of a quilted effect. I also found those cute little hearts in the jewelry making section at Michael's that I added to some of the clasps for decoration.


Making these fabric bracelets was such a fun, quick little project, and my daughter enjoyed helping me pick out fabric scraps and cut the strips.  I sewed and assembled all 12 or so bracelets in roughly an hour's time!


These fun fabric bracelets were a great addition to gifts we gave my nieces, my friends RaeAnna and Rachael, Ella's dance teachers, and Ella's friend, Madalyn.  We gave away some others and managed to keep one bracelet a piece for ourselves.  I forgot to take a picture of all the bracelets before I gave them away though!

I know I'll be making more of these soon, but next time I definitely plan on using a bracelet extender or something similar to make putting the bracelet on a little easier and to provide a more flexible length.

So if you want to make a few of these fun fabric bracelets for yourself or a gift, be sure to check out Vanessa's tutorial over at LBG Studio!

Saturday, December 1, 2012

Christmas Tree Tabletop Decoration Tutorial

Christmas in my family has always included making homemade ornaments, decorations, gifts, and treats that we share with friends and family.  When I was little, my mother and I would scour the pages of magazines to find inspiration for our latest projects. One of my favorite DIY ideas that my mom and I crafted together is this Christmas Tree Tabletop Decoration. 


For this project, you will need the following:


First, begin by cutting out approximately 100 - 1” wide by 6” long strips of fabric (for my example I had 25 each of 4 coordinating fabrics).   Next, pick out 4 ribbons or trims (you’ll need a spool of each) that are ¼” – 3/8” wide that coordinate with the fabrics, and cut 50 pieces that are 5” long and another 50 pieces that are 4” long.

Using the hot glue gun, carefully apply a small dab of glue to the end of one of the fabric strips. Press the ends together forming a loop.  Do this for all the fabric and ribbon strips.


Using a measuring tape or ruler, measure 3” up from the bottom of the Styrofoam cone and make a small mark using a Sharpie.  Continue marking 1” – 2” increments up the cone.  Repeat this all around the cone so that you now have a grid for guidance in evenly placing the fabric/ribbon rows.


Now cut 6 pieces of ½” wide white grosgrain ribbon to the following lengths: 
12 ¾”, 11 ½”, 10 ¼”, 9”, 7 ¾”, and 6 ½”.  These ribbon strips will be the foundation for each row of the Christmas tree. 

Starting with the longest piece of grosgrain ribbon, lay out the fabric loops in the desired pattern adjusting the space between the strips as needed.  Glue each fabric loop to the white grosgrain ribbon then glue the ribbon loops on top of each fabric loop.  Complete each ribbon strip the same way.


Now you are ready to assemble the Christmas tree.  Starting with the bottom row and using the markings on the cone as a guide, begin securing the ribbon strip onto the cone with floral pins or straight pins. 


Continue pinning the ribbon strips to the cone so that the bottom edge of the new layer overlaps the top edge of the previous layer.  My layers are spaced roughly 1 ½” to 2” apart vertically. 


The final row should be even with the top of the cone.  Now take 7 strips of fabric and cut them in half so that they are 3” long.  Fold each strip in half and glue together.


Pin each small loop around the top edge of the tree.


Using the remaining uncut ribbon, make a bow and secure it to the top of the tree using pins.  Add one more small loop to cover the center of the bow if desired.  Now you are done! 


Use a candleholder or plate to set your Christmas Tree Tabletop Decoration on as a base.  Make two or three Christmas Tree Tabletop Decorations with different sized cones for a larger tabletop or mantle holiday decoration.   


Merry Christmas!

This tutorial if for personal use only and it may not be reproduced or copied in part or whole without my expressed written consent.