home tutorials features parties custom orders

Friday, September 7, 2012

Big Bag of Buttons!


A few weeks ago, I visited my brother and his family.  While I was there, I had an opportunity to go through my grandmother's sewing machine table drawers for vintage goodies.  It was so much fun looking through all the old bobbins, little containers of odd buttons, hemming tape, and even a few handwritten note cards with mine and my mom's measurements from back in the mid 1980's!  Made me feel pretty good that my measurements are pretty much the same except that my bust in now larger!  Ha!  Still made me feel fat seeing my mom's waist measurement of only 24" though.  She always had a teeny tiny waist!

Here's the menagerie of buttons that I found!


I love the old covered buttons that use those metal teeth.  In my opinion, these work so much better than the ones you can buy now, and they don't require you to use that little plastic thing or a hammer to secure the back to the button!  I wonder why they stopped making them that way...


Anyway, tucked away in the bottom drawer of the table, I found this sweet bag full of vintage used buttons!  I was so excited, but resisted the temptation to just dump the bag right then and there.  I decided to wait until I returned home and could take pictures as I opened the bag for the first time it has been opened in at least 14 years!


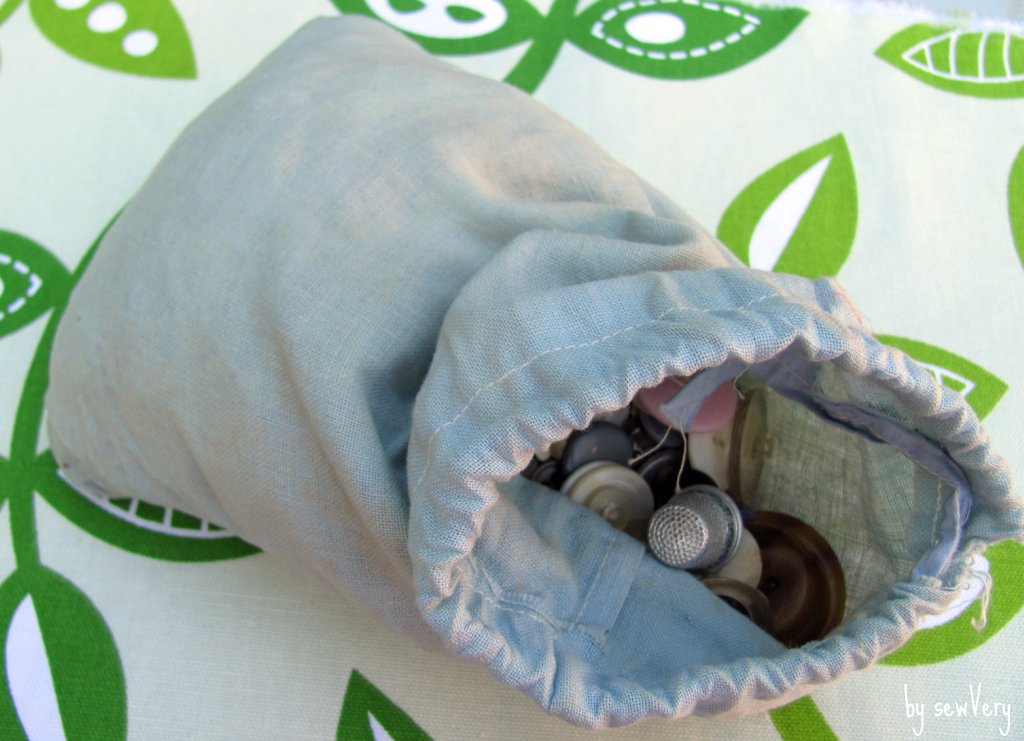
When I poured the buttons out, I became a little emotional.  Which buttons had been on a piece of my mom's old clothing?  And I even got a whiff of what my grandparent's house used to smell like!  These two women, my grandmother and my mom, taught me the basics of sewing without ever giving me a formal lesson.  I just watched them, helped them lay out fabric and patterns (my grandmother used old silverware knives as weights), learned when to use pinking shears and when to use regular scissors, thread the sewing machine needle (I could see the eye of the needle without glasses), picked out a lot of seams, and pressed open a lot of seams.  I never really sewed anything substantial until I was in my mid 20's.

My grandparents believed in holding onto anything that could be reused later. A lot of these buttons still had the thread or even fabric sewn to them where my grandmother had cut them off a piece of old clothing.


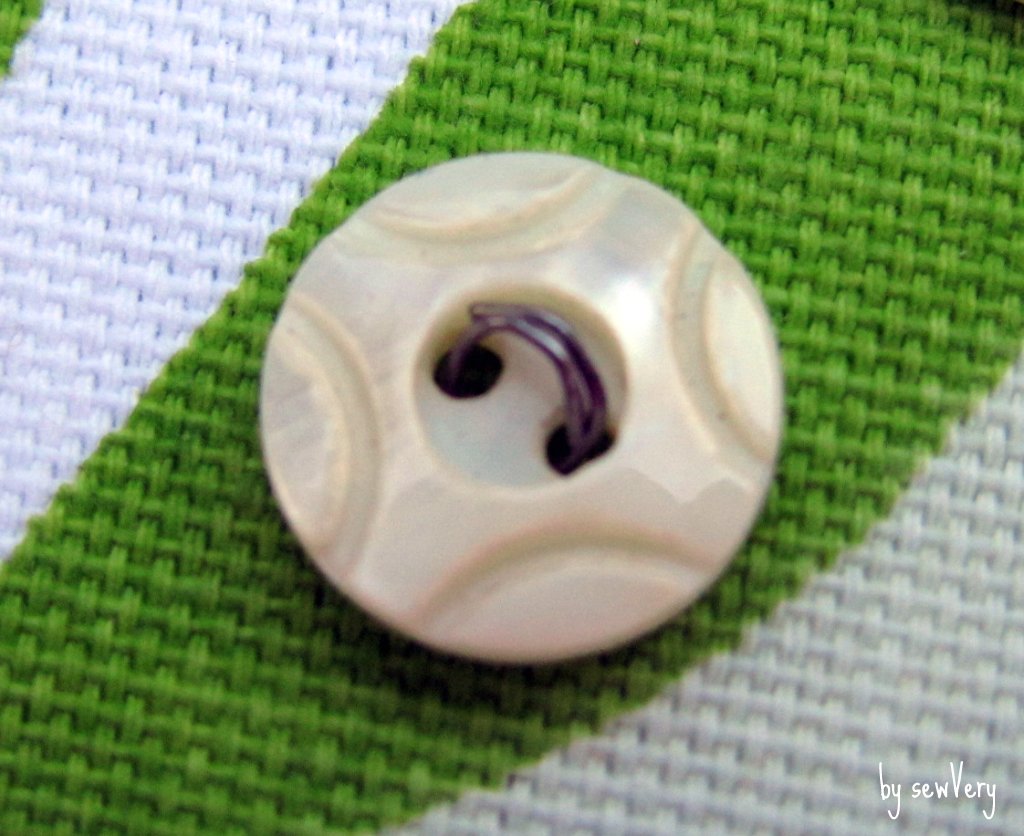
While there aren't a lot of colorful buttons, there were quite a few pearl buttons (and a pearl buckle or two) in the bag, and some even had cut out designs on them.  Here are a few of my favorites.


This one reminds me of an antique deviled egg serving dish!


And this one reminds me of a piece of chocolate candy!  It was the only one of its kind.


There were a few rather large buttons, too.  Here's one of my favorites.


A lonely little red decorative button.


These lovely mother-of-pearl buttons all had a light purple shimmer to them.


I've desperately needed to sort all my buttons out by color, and while on the trip to visit my family, I remembered I had this neat old stick candy jar display that came from my father's pharmacy when I was a kid.  After my dad stopped selling the Old Dutch candy at his store, my mom brought home the jars and kept pens, paper clips, and binder clips stored in them.


While there aren't quite enough jars to sort and store all of the buttons I own now, I believe it comes in quite handy as a way to display all the vintage, loose buttons I have.  I'll just have to continue storing all the other new and vintage buttons that are still on cards in the ziploc bag in my sewing drawer.


To keep the dust out of the button jars, I made these simple little jar covers. Super easy!  Just cut out a circle the diameter of the jar plus 2 inches, then shir two rows of elastic thread spaced roughly 3/8" apart around the edges of the circle.  Spritz with water, apply heat from an iron for a few seconds, and you are done!


Although I now have all these buttons, I am itching to find more!  I've been searching a local thrift store for notions and buttons, so I have a feeling that my collection is going to continue to grow!

Thursday, August 30, 2012

There's Still Time...


You have just two more days to take advantage of the offer that Forever Threads is extending to readers of sewVery.  Place an order during August for clothing size and care labels through Rita's Etsy shop, Forever Threads, and mention my blog, sewVery, and she'll double your order!

She offers assortment packs of 100 labels starting at just $6, so if you place an order with her on Thursday or Friday of this week and mention my little blog, she'll send you 200 labels for the same price!  That's an awesome deal!


I've placed two orders so far, and I'm very pleased with the quality and style of the labels.  I ordered a mix of size labels from 2T to 8 and a couple of different care instruction labels.  Attaching these to the little outfits I've sewn make them look so much more professional, not to mention they help me remember exactly what size pattern I used to make them!  And since I've recently opened my own Etsy shop, these labels will come in handy when I make a piece of clothing to sell.


You can read original blog post about my new clothing size and care labels here.

Monday, August 20, 2012

Summer Fun Dress Version 2


Remember this really simple, Summer Fun Dress I made for Ella a couple of weeks ago?  And remember that I told you how easy it is to mix this dress up and embellish it in different ways for a varied and unique look?  Well, I wanted to show you how I made another Summer Fun Dress, this time in a size 2T for a my friend's little cutie pie Auburn fan.


First of all, I wanted to test the measurements I had come up with for a size 2T.  I think it worked out well for her little girl (you'll have to take my word for it because I don't have any pictures of her modeling it)!  As I mentioned in the pattern, I recommend you measure your child's chest to get a more precise fit for the elastic top.  In this case, the little 18 month old girl has the same size chest and nearly same size waist as my 3 1/2 year old!  So, I used the little girl's chest measurement minus 1" for a comfortable fit (I used 20").  

Here's my 3 1/2 year old, Ella, modeling it for you.  It's really too short for her as a dress, but she could actually wear it with leggings or jeans for a cute fall outfit.  In fact, she has already put in an order for one exactly like it!


Ella is roughly 8 or 9" taller than the intended wearer, so I am thinking that the length should be just right for the other cutie pie!


Here's what I did differently for the Summer Fun Dress Version 2:

   1.  No ruffle at the top
   2.  Added two rows of shirring roughly 4 to 4 1/2" from the top so it falls just above the natural waist.

Shirring just above waist

   3.  Made ties out of ribbon (make sure to add fray check to the ends) to tie at the shoulder instead of around the neck
   4.  No decorative vertical strip (I added the specified width of fabric for the decorative strip back to the width of fabric required for the main fabric)
   5.  No hem strip (I added the specified width of fabric for the hem strip to the length of fabric required for the main fabric)
   6.  Attached jumbo orange ric rac to the hem of the dress.

Ric Rac Hem


Version 2 was even easier to make than the first!  Another plus about this dress is that it can be worn year round by simply adding a white t-shirt underneath and pairing it with leggings or jeans.  And, when your child grows, the fit is so forgiving that she can still wear the dress as a top!  This piece of clothing could potentially fit the same girl for 2 or 3 years!


Now my friend's little girl is ready to attend all those fall Auburn football games in style!  Go get 'em Tigers!


Wednesday, August 8, 2012

Oliver + S Popover Sundress

A couple of days ago, I saw this adorable Oliver + S Popover Sundress at Living with Punks and just knew I had to make one right away.  I had downloaded the pattern for free from Oliver + S a few weeks ago but had forgotten about it until now.

Here's how my Oliver + S Popover Sundress turned out!


I made this dress for the daughter of one of my childhood best friends.  I'm a little nervous about whether or not it will fit because I have never seen the little girl in person, only in photos.  According to her mom, she's wearing a size 2T, so I made this dress by the size 2 of the pattern. (See my post about these labels here).


At the very least it'll be too big, and she'll have a new dress to wear next spring.  Or, I guess she could always wear a long sleeve t-shirt underneath it in the winter.  Either way, the dress turned out pretty stinkin' cute if I must say so!


I used some more fabric that I had been hoarding, but you know what?  The fabric looks even prettier turned into this lovely little sundress.  And look at those butterflies.  They just happened to be right in the center of the front dress panel!  

What fabric is this you might ask?  All four fabrics I used are from Anna Marie Horner's Loulouthi collection.  The main part of the dress is Clippings in Cherry, while the yoke is Buoyancy in Butterberry, the hem is Coreopsis in Lime, and the ties are Hugs and Kisses in Ocean.

As with all Oliver + S patterns, the attention to detail is impeccable.  I mean, the instructions are easy to read and understand and accompanied by lots of diagrams.  The techniques they show you how to use make the garment look so professional!  

One thing I like about Oliver + S patterns is that they give little hints on how to make your garment even better.  For instance, it suggests you add some ric rac or trim to the yoke piece, which I did.  I happened to find this scrap piece of lace trim in a bag my mother-in-law gave me.  It was the perfect length!

I only had roughly 17 inches of the main fabric which wasn't long enough for the size 2, so I decided to add a little hem strip to the bottom in a coordinating fabric.  To me, this extra pop of color completes the dress.  

The pattern did not have instructions on how to add this piece, but it was very simple just to cut out a 3" wide strip of fabric that is the same width as the bottom of the dress.  I folded in the long edges roughly 3/8" and pressed them flat, then I folded the entire piece in half and pressed it.  This makes it look sort of like a piece of bias tape.  You then attach it to the bottom of the dress the same way the pattern shows you how to attach the bias tape to the armholes.

I even had a sewVery label in the same colors as the hem piece.  It was meant to be!


The tie straps help to add a pop of color to the dress as well.  I'm very partial to the orange and blue together (War Eagle!), and I know my friend is, too.


All in all, this is just a superb pattern.  Thanks again Oliver + S for providing it for free, and thanks to Susan at Living with Punks for blogging about your version.  Both inspired me to make this beautiful dress for a beautiful girl.

Front
Back

I hope my friend's daughter, Murfee, will love it as much as Ella and I do! Ella has already put in an order for a dress just like it for herself.  My girl really doesn't need anymore clothes right now, but I just can't turn down this face. Could you?

Friday, August 3, 2012

Visiting Emmaline Bags & Summer Fun Dress Tutorial


I'm guest posting today at Emmaline Bags about this simple, cute little dress I whipped up for Ella.  I call it the Summer Fun Dress!  

Please check out Janelle's blog, Emmaline Bags, for not only my guest post but also to see her great bag patterns and hardware.  She's about to move from Australia back to Canada, so be sure to take advantage of the sale she's having in her shop now through August 15th.

Emmaline Bags
Now, here's the tutorial I put together for how to make the Summer Fun Dress.  


Here's what you'll need in order to make your little one her own Summer Fun Dress!  Hint:  You should be able to click on each photo to make it larger.


Missing from the picture above is the Hem Strip.

Start by adding the trim (if desired) to the edges of the decorative strip. Make sure you use washable glue, that way it will dissolve when you wash the dress.


Now time to make the two straps.

Now lay out the dress with the front half facing you.

If you want to add your personal label or a label for size and care instructions, then now is a great time to do that, too. 


Disclaimer:  At the time I created this tutorial, I only tested the size 4T measurements provided.  Please note that dimensions given for other sizes are approximate and may require slight modifications to better fit your child. 

If you have any questions, please send me an email at sewvery(at)gmail(dot)com.

This tutorial is intended for personal use only and may not be reproduced in part or in whole without my expressed written consent.