home tutorials features parties custom orders
Showing posts with label Santa Hat Ornament. Show all posts

Monday, December 2, 2013

A sewVery Simple Stocking Ornament Tutorial

I probably have more Christmas tree decorations than any other individual on the planet, but that doesn't stop me from making new ones each year!  Here's the latest one that I came up with, and I think it's the easiest one yet:  A sewVery Simple Stocking Ornament Tutorial!


First, you'll need to download my stocking ornament pattern from my Craftsy pattern shop (affiliate link).  Then, assemble the remaining supplies.


To make a dozen of these Stocking Ornaments, you'll need 1/4 yard of fabric and about 3 yards of ribbon or twine.  I bought my double sided quilted holiday fabric at Joann's: Christmas Metallic Plaid. It will take you about 30 minutes to make them!


That's it!  You're done!  These are going to look great on my tree this year, plus I plan to add one or two to each present that I wrap.


Here's another version I made using some holly decorated quilted fabric.  You can add some ric rac or ribbon or even sew on a button to add a little more detail to the stocking.  Plus, they were so much fun to make!


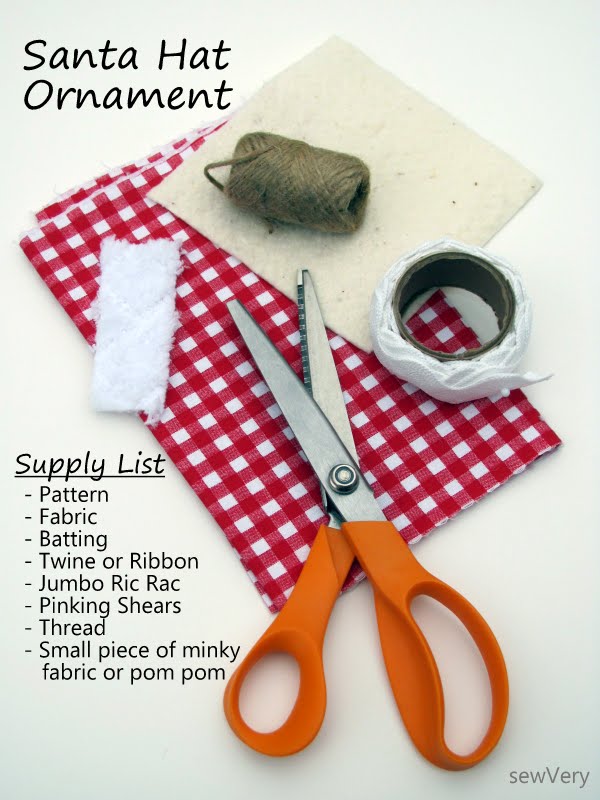
If you like my sewVery Simple Stocking Ornament Tutorial, then you should check out my sewVery Simple Santa Hat and Candy Cane Ornament Tutorials, too!  With a yard of fabric, you could make an entire collection of festive holiday decorations for your tree!


Happy holidays, and have fun sewing!

Tuesday, November 19, 2013

A sewVery Simple Candy Cane Ornament Tutorial

Need a few new tree decorations or want to add a little something extra to that wrapped gift?  Then I've got the project for you!  Today, I'll show you step-by-step how to make A sewVery Simple Candy Cane Ornament.


I consider myself to be a nostalgic crafter these days.  I love finding inspiration from the craft projects that my mom and I crafted together when I was a child!  It's so fun reliving the memories of us working together when I recreate one of her amazing projects.

And you guessed it!  My sewVery Simple Candy Cane Ornament Tutorial was inspired by decorations my mom made for our tree.  If you are like me, you are just starting to decorate your home and make special holiday gifts for loved ones, friends, neighbors, and teachers.  So, I am here to help you out! My Simple Candy Cane Ornaments are so quick to make and are perfect for the tree or to attach to a wrapped present. So grab your supplies, and let's get busy!

Tuesday, December 11, 2012

A sewVery Simple Santa Hat Ornament Tutorial

I've been making a few ornaments this week to decorate the tree and to add a little something extra to wrapped presents, and I thought I'd share the idea with you!  Today, learn how to make a sewVery Simple Santa Hat Ornament with my quick and easy tutorial!


Here's what you'll need to get whip up one or a few dozen of these fun little Santa hat ornaments:


After you've gathered all the supplies listed above, print out the pattern piece from my Craftsy pattern shop (affiliate link).

Next, lay out your fabric and batting so it looks like the picture below.


Then place your pattern piece on top, pin in place, and cut out the two pieces of fabric and batting all in one step.  You can cut out multiple sets without much waste by flipping the pattern over and lining up the edge with the previously cut out piece.


Once you get your pieces all cut out, pin them together.


Now you are ready to stitch the pieces together.  You may use a walking foot if you have one to help prevent the fabric from creeping, but it's not necessary.  I didn't bother using mine because I'll cut off any irregularities when I pink the edges for the final ornament.


Pink the edges.  


Cut a piece of twine or ribbon 5" long and fold in half.  Place the cut edges on the backside at the top of the Santa hat and tack down with a few machine stitches.  

Then take your piece of comfy or minky fabric and rough cut a 1" circle. Center the circle over the top point of the Santa hat and tack it down with a couple of machine stitches.  If you are well coordinated, you could take down the twine and the circle at the same time!  I opted to do them separately, but that's just me.


Now take your jumbo ric rac and cut a piece long enough to cover the bottom edge of the Santa hat.  Use your pinking shears to cut the edges to help prevent the ric rac from fraying.  Sew the ric rac over the bottom edge making sure to cover up the bottom of the fabric.


That's it!  In an hour's time, I sewed together well over a dozen of these adorable Santa Hat Ornaments.  My kids loved putting them on the tree, but I managed to save a few to put on Christmas presents for teachers and friends.

This tutorial if for personal use only and it may not be reproduced or copied in part or whole without my expressed written consent.