

I am an affiliate of Peek-a-Boo Pattern Shop, but all opinions provided in this post are 100% my own.
Yesterday I showed you how I made the Jasmine Romper - Take 1 by taking the Peek-a-Boo Pattern Shop Jasmine Dress Pattern upper half and combining it with the Gracie Romper Pattern bottom half. I was pretty pleased with the result, but I wasn't completely sold on the look based on the fabric I had used. So, I decided to make another one by using some Amy Butler Lark fabrics. This time I was in love with the result!


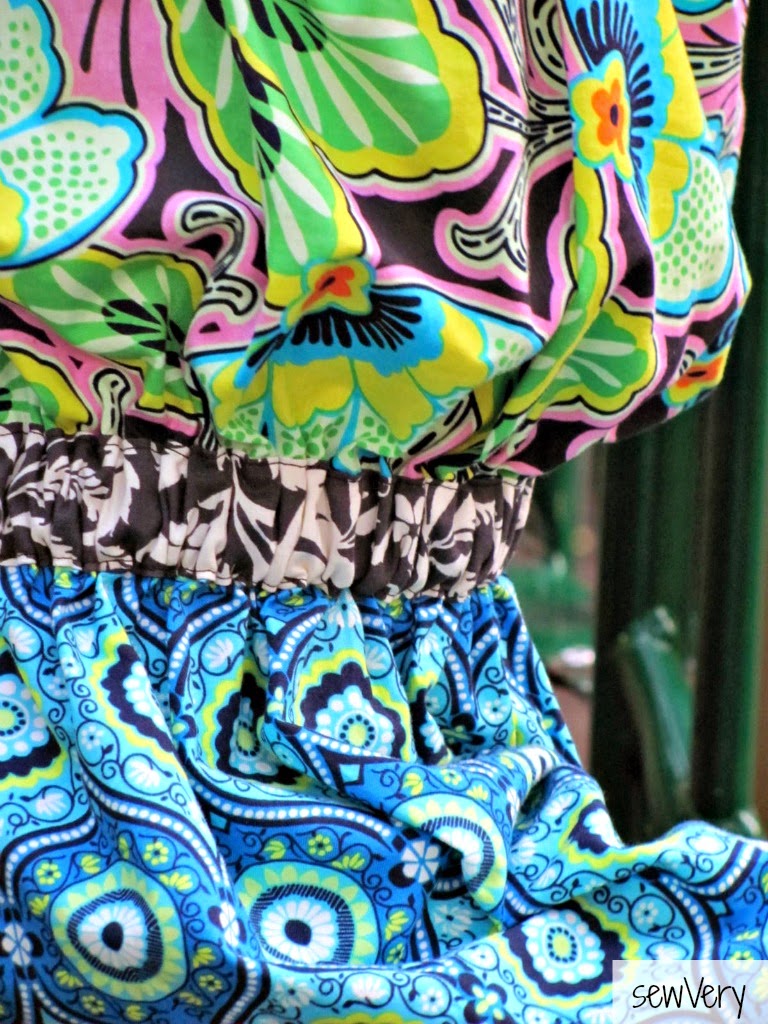
Again, I used the bodice part of the Jasmine Dress Pattern to create the top half of the romper. I wanted the casing for the elastic around the top and the armhole binding to be in a different fabric from the main bodice fabric, so I made some double fold binding and sewed it onto the exterior of the bodice. If you decide to make one similar, just remember to remove the excess seam allowance when cutting out the bodice pieces.

This time for the bottom half of the romper, I used the shorts pattern from Simplicity 1903. I've used this before when making my Ruffle Neck Romper Tutorial. As I recommended in that tutorial, I found it best to use at least a size larger in the shorts so that the romper will be comfortable in the stride when your child bends or sits. These shorts are a little roomier than the ones I used to make the Jasmine Romper - Take 1, and the width of the size 6 was actually a perfect match to the width of the 5T Jasmine Dress bodice. The only other thing I modified was to add an extra inch and a half to the length.
Ella fell on a rock wall and scraped her knee while we were taking pictures, so I'm sorry I don't have too many of her wearing it to share with you. She was a trooper though and allowed me to take a couple more photos after her accident.

For the waistband elastic casing, I cut out a strip of fabric 2 inches wide by the length all the way around the romper plus one inch. I pressed in each long raw edge 3/8" and folded the short ends in 1/2". I then centered the strip over the seam between the bodice and the shorts and pinned it in place so that the two folded ends met along the side seam of the romper. I then sewed the casing to the romper and then inserted through the opening a 3/4" to 1" wide piece of elastic the length of Ella's waist measurement plus 1".
I used the same black/white fabric from the Lark collection that I made the waistband casing with to make the skinny strap and shoulder bow tie.

Finally, I hemmed the bottom, sewed on a sewVery label, and was done!

Since Ella was such a good sport and even sat at the playground so her brother could play after she got hurt, I thought she deserved a yummy treat. Having a milk shake at Sonic definitely seemed to make her feel better!

Thanks again, RaeAnna, for inviting me to be a part of your first ever Romper Week series! This was really an excellent idea!

Be sure to check out all the other Romper Week posts as well as share your romper creations in the Flickr group and link-up party.
Plus, be sure to check out all the adorable romper patterns offered by Peek-a-Boo Pattern Shop this week for just $6!

And finally, be sure to enter to win a pdf pattern from Elegance & Elephants!
a Rafflecopter giveaway
Thanks for stopping by, and I hope you'll decide to follow my blog with Bloglovin!

I just loooove all the coordinating fabric prints!!! She is so cute! I hate that she got a boo boo :( Thank YOU for participating!!!
ReplyDeleteThis comment has been removed by a blog administrator.
ReplyDelete